Categories: AI Video Workflow, Creator Strategy, Production Process
Tags: veonano, ai creation studio, ai video workflow, content strategy, creator toolkit
Introduction
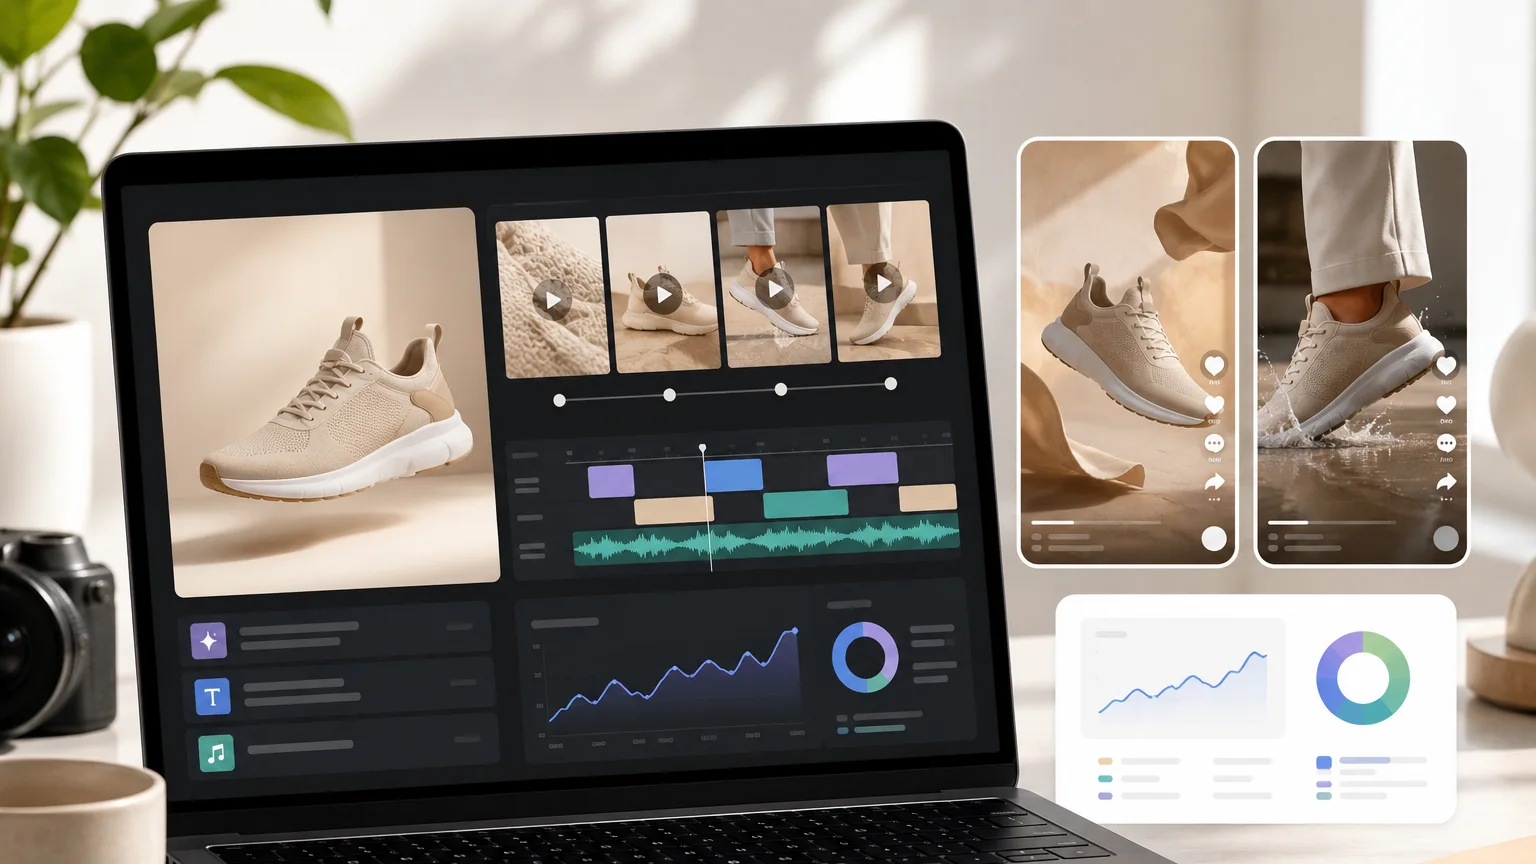
A practical workflow starts from one product photo and turns it into a testable set of ad variants. That is the right way to think about e-commerce video: the goal is not one perfect render, but a repeatable experiment that reveals which angle, motion, and message drive buying behavior.
Use VeoNano to build a shot matrix, generate prompt angles, keep filenames traceable, QA every variant, and read results weekly. A small team can learn more from five clean variants than from one expensive hero clip.
Testing Workflow
1) Why testing beats "one perfect video"
Most ecommerce teams still treat product video like a photoshoot: brief one hero clip, ship it, hope it performs. That worked when producing a single clip cost a week and a studio. It does not work now that competitors are shipping ten short-form variants per SKU every month.

Treat each video as a test cell with one clear hypothesis, not as a standalone creative asset.
2) The core idea: one photo, many angles
You do not need ten photoshoots to get ten ad variants. You need one clean product photo and a structured way to generate different angles from it — where an angle is a specific combination of camera movement, framing, mood, and message.

Treat each video as a test cell with one clear hypothesis, not as a standalone creative asset.
3) Step 1: Build the shot matrix
A shot matrix is a small grid. Rows are the creative variables you want to test. Columns are the specific values. You pick one value per row for each variant, and that gives you a clip to generate.

Keep the matrix small enough to read in one screen. The useful variables are product, camera move, benefit, setting, hook, platform, and offer.
4) Step 2: Write reusable prompt angles
Once the matrix is set, the prompts almost write themselves. Keep them structured so you can swap product names in and out.

Write prompt angles as reusable formulas. Swap the SKU and benefit, but keep the camera and QA language consistent.
5) Step 3: A naming convention you will not regret
The single biggest mistake ecommerce teams make with AI video testing is filenames like final_v2_REAL_final.mp4. Six weeks in, no one knows which clip performed and why.

Use filenames that survive reporting: SKU, angle, platform, date, and version. That is how ad results stay connected to creative decisions.
6) Step 4: The QA checklist before you ship
AI generation is fast, which means it is easy to ship clips that look off. Before any variant goes live as a paid ad, check packaging shape, logo clarity, product count, color accuracy, benefit claims, and whether the scene could mislead a shopper.
QA should happen before paid spend: product accuracy, impossible claims, distorted packaging, and off-brand scenes are all hard stops.
7) Step 5: Read the results, then iterate
Once the variants are live, resist the urge to grade them on gut feel. Track a small number of metrics per variant: thumb-stop rate, hold rate, click-through rate, add-to-cart rate, CPA, and any channel-specific conversion signal.
Treat each video as a test cell with one clear hypothesis, not as a standalone creative asset.
8) A realistic weekly cadence
For a small ecommerce team, this workflow fits into a weekly rhythm: plan the matrix on Monday, generate and QA on Tuesday, launch the batch midweek, and review enough data before the next creative round.
Treat each video as a test cell with one clear hypothesis, not as a standalone creative asset.
9) Where to start
If you are new to generating video from stills, start with a single product and a single angle. Use the product photo to video flow to get comfortable with the model, then layer the matrix on top once you trust the output.
Treat each video as a test cell with one clear hypothesis, not as a standalone creative asset.
Practical Weekly Workflow
- Choose one SKU and one clean source image.
- Build a shot matrix with columns for camera move, scene, benefit, hook, format, and offer.
- Generate a small batch in VeoNano using one variable change per variant.
- Name files with SKU, angle, platform, date, and version so results stay traceable.
- QA accuracy, publish the batch, review metrics, and promote the winning angle into the next round.
Conclusion
Testing turns AI video from a novelty into a repeatable growth process. Start with one product photo, keep the variables clean, and use VeoNano to create enough controlled motion variants for real learning.
Next Step
Explore VeoNano workflow templates: https://veonano.com
FAQs
What is a shot matrix?
It is a small grid of variables such as camera move, scene, hook, product benefit, and format. Each row combination becomes one video variant.
How many variants should an e-commerce team test weekly?
Start with 3 to 6 variants for one product. That is enough to compare hooks and visuals without overwhelming QA or reporting.
Which metrics should I track?
Track thumb-stop rate, hold rate, click-through rate, add-to-cart rate, CPA, and any platform-specific conversion signal tied to the variant filename.